
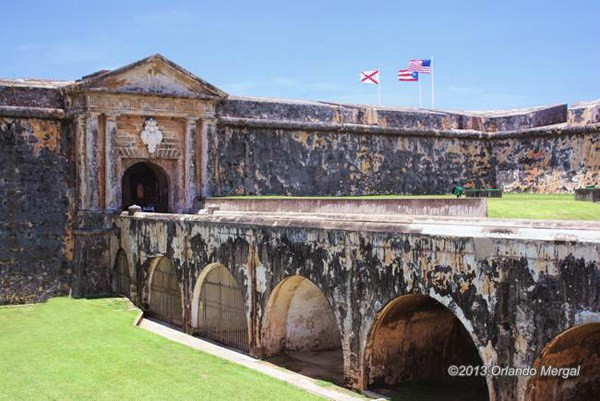
When you arrive at Fort San Felipe del Morro you will enter through a concrete bridge that goes over the dry moat. In colonial times this used to be a draw bride, which protected the eastern side of the fort. Attacking forces arriving from the east would’ve been met by a dry moat that would have forced them to descend before attempting to climb the fort’s walls.
This gave the Spanish forces several advantages. First, the moat would have protected the base of the fort walls from enemy canon fire, something that never occurred. Secondly, after climbing down into the moat, the attacking foot soldiers would’ve become sitting ducks for the Spanish forces.
Visiting Fort San Felipe del Morro used to be free, but several years ago the National Park Service decided to charge a small fee to help cover the fort’s maintenance and ongoing restoration. The $3 entrance is more than reasonable and if your planning to visit Fort San Cristóbal –which we strongly recommend– you can get a $5 ticket that’s good for both forts during a 7‑day period.
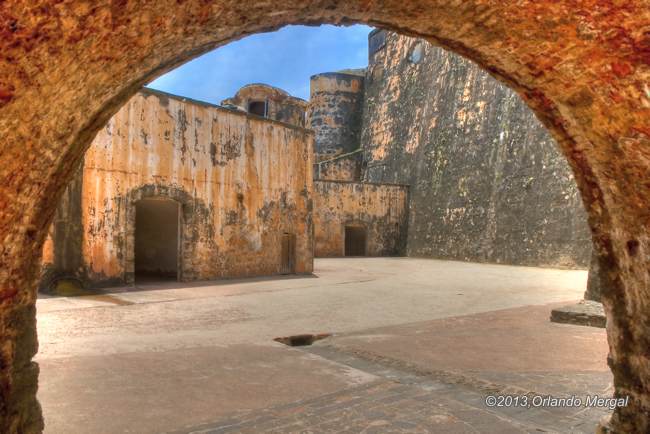
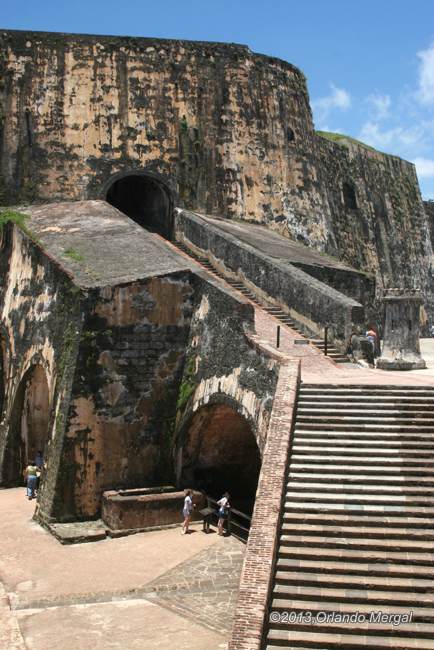
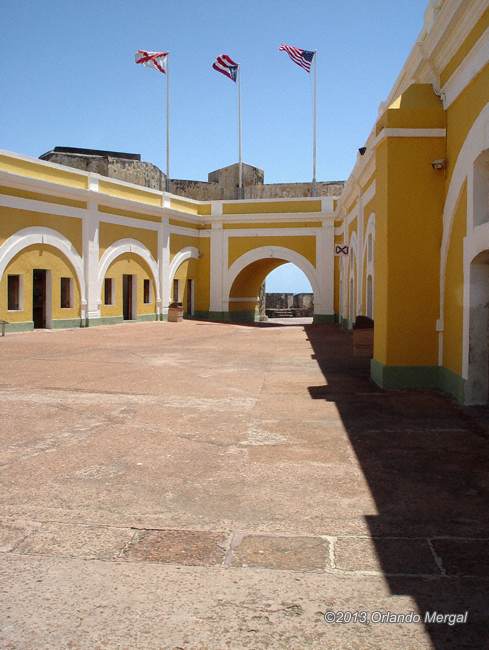
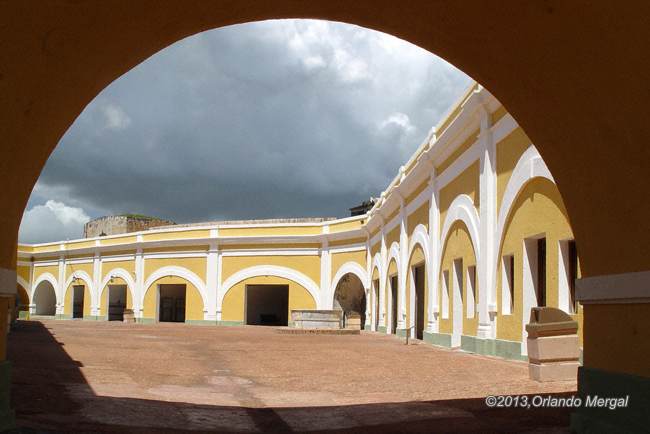
Entering Fort San Felipe del Morro is like taking a step back in history. Once you pass the fort’s massive entrance you’ll find yourself in the main courtyard and you’ll see a tunnel shaped ramp that leads downward towards the Santa Barbara battery.

Immediately to the right of the tunnel shaped ramp there’s a small concession stand with all kinds of books and memorabilia about the forts, Old San Juan and Puerto Rico. On the left side, there’s a small projection room with an audiovisual presentation that covers the city walls and forts. The program is available in English or Spanish during regular park hours.
Now you’ll have to make a decision. Are you going to explore the fort from the top down or from the bottom up. Personally, I prefer to go from the bottom up because you’ll be less tired at the beginning, which is when you’ll be doing most of the climbing.
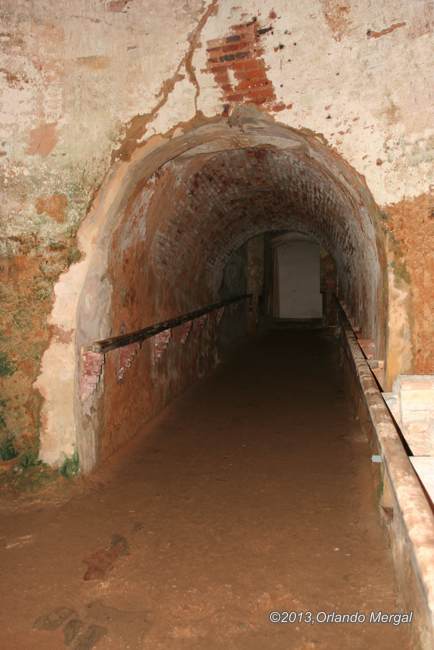
Now that we have that out the way, lets start down the tunnel shaped ramp towards the Santa Barbara battery level. Once again, if you have children in your party, please hold them tightly while you walk down the steps. DO NOT attempt to walk down the center ramp. On missed step and you’ll roll down the ramp like a Spanish cannon ball. By the way, this ramp was called the main artillery ramp and it was used to move cannons weighing up to 10,000 pounds and other military equipment using a sophisticated rope and pulley system called a “block and tackle”.
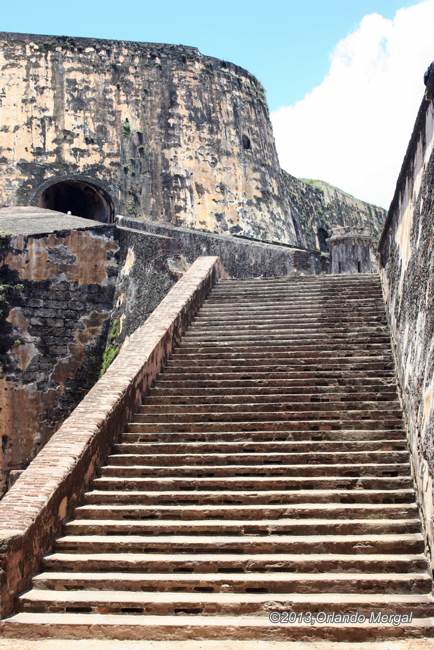
Once you reach the Santa Barbara battery level you take the next staircase leading down towards the lower patio. Right next to the base of this staircase you will find a passageway on your left that leads to another downward ramp. This ramp leads to the original 1539 tower that today is covered by the Santa Barbara battery. After walking down this ramp you’ll be standing under the dome of original tower, which has several interesting features of its own. Looking to your left you will see yet another ramp that leads to the water-level Water Battery Area. The artillery in this battery would shoot red-hot canon balls at the waterline of enemy ships. The enormous force of these projectiles, and the high temperature at which they were fired, would pierce the ship’s hull, start a fire and allow the sea to pour in.


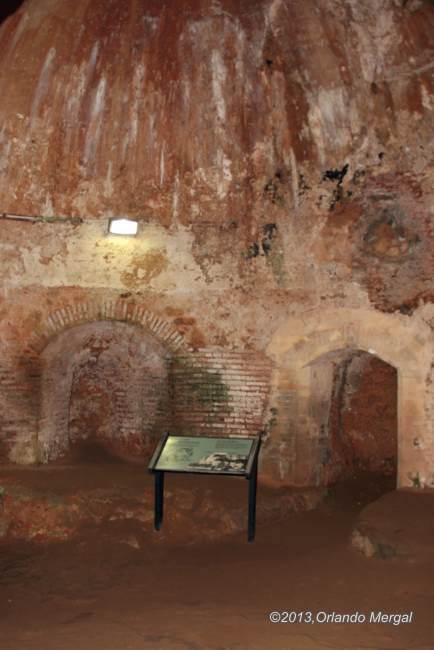


At the opposite end of the tower you’ll see the closed off longholes from the original structure. Sentries guarding the tower could shoot their muskets and retreat through the narrow tunnel, were they would reload safely under cover.
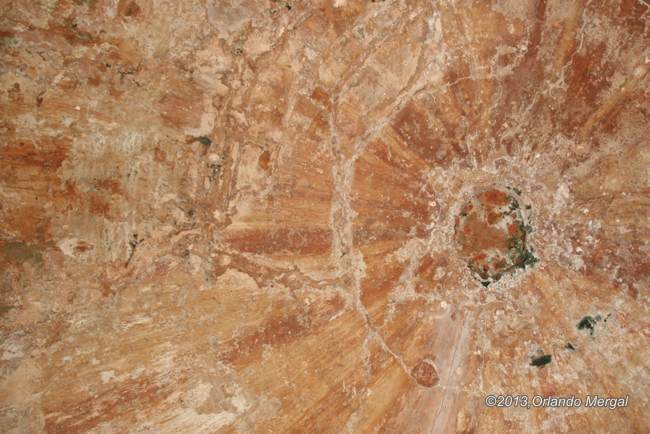
On the upper right quadrant of the tower dome there is still another piece of history from the fort’s turbulent past. But in this case it’s a real piece. If you look carefully you’ll see a metal fragment sticking out of the dome structure. On May 12, 1898, a month after the United States declared war on Spain, a US naval squadron commanded by Admiral William T. Sampson attacked the city of San Juan for close to three hours. El Morro’s defenses were hit with several hundred shells, one of which pierced the original tower dome.
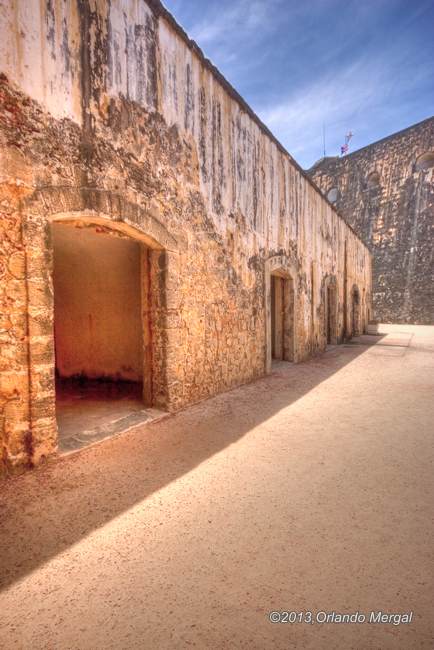
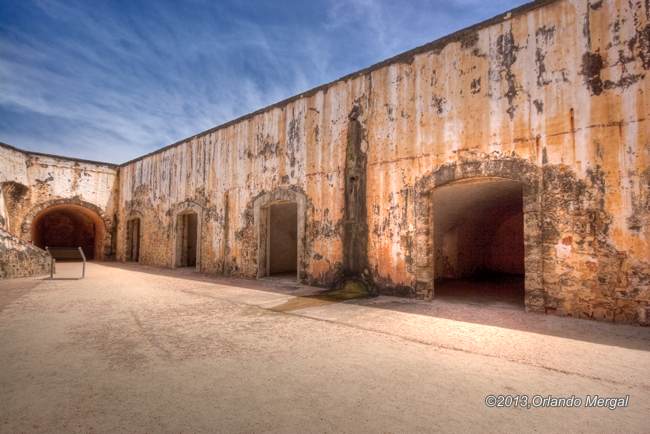
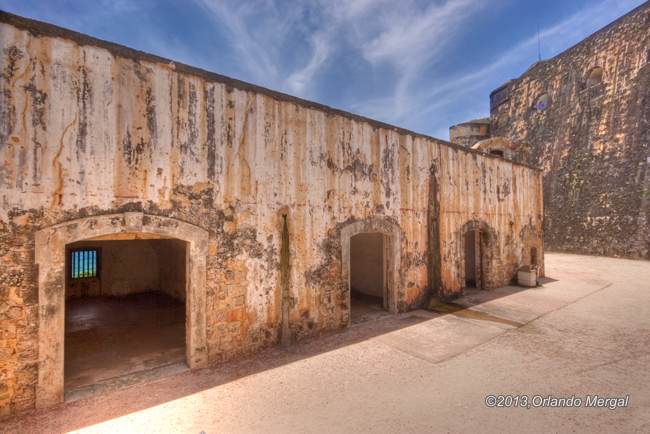
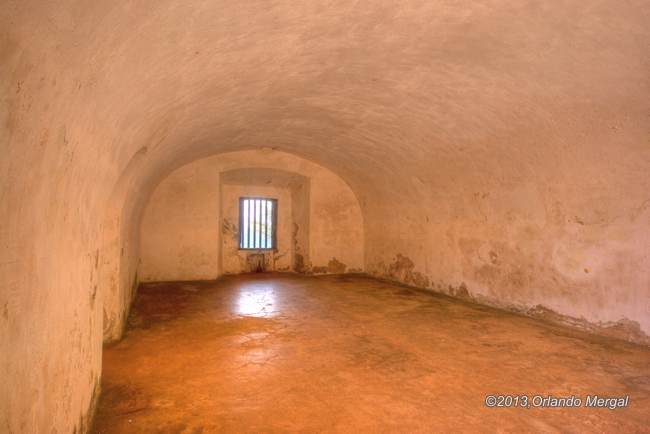
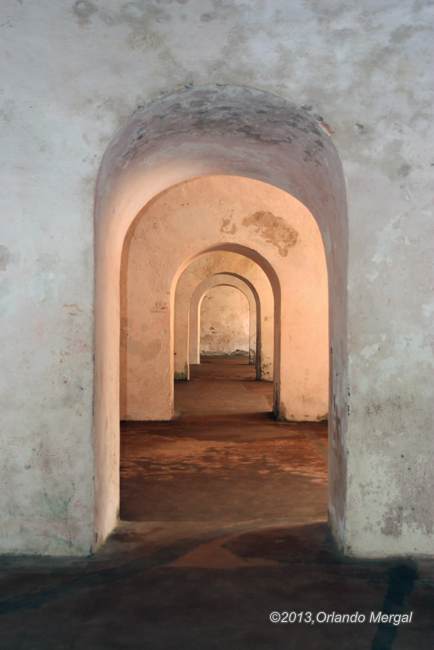
After walking back up the ramp you’ll arrive at the lower patio. Looking directly under the staircase you will see two large arches directly below the main artillery ramp. The one on the left was the fort’s kitchen and the one on the right was the forge. On the opposite side of patio are the casemates or gunrooms. The guns in these rooms pointed straight out to sea and their mission was to shoot at the hulls and decks of enemy ships. Their enclosed nature made them practically indestructible.
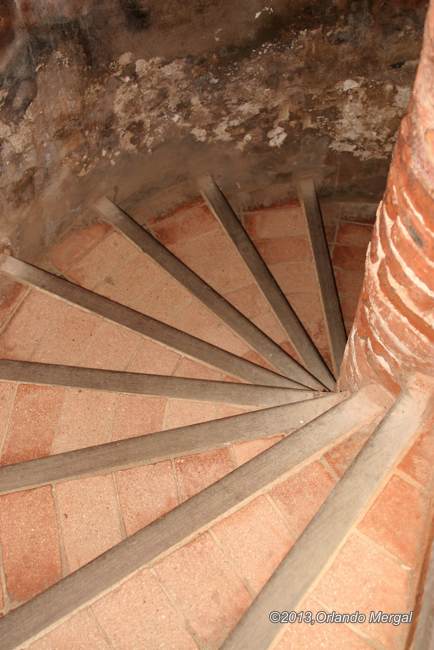
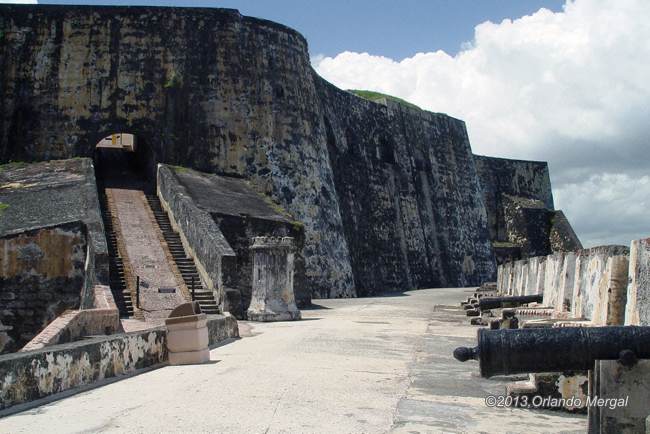
At the center of the lower patio there’s a circular staircase that leads to the third level. If you wish, you can go up this staircase or you can use the wider one that you took on the way down. Either way, you will find yourself right next to the Santa Barbara Battery.
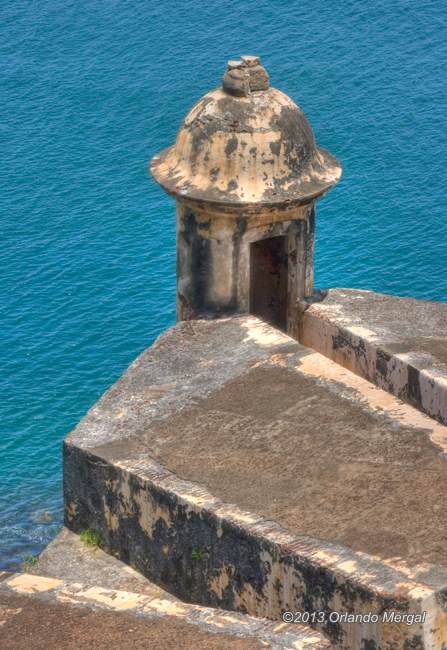
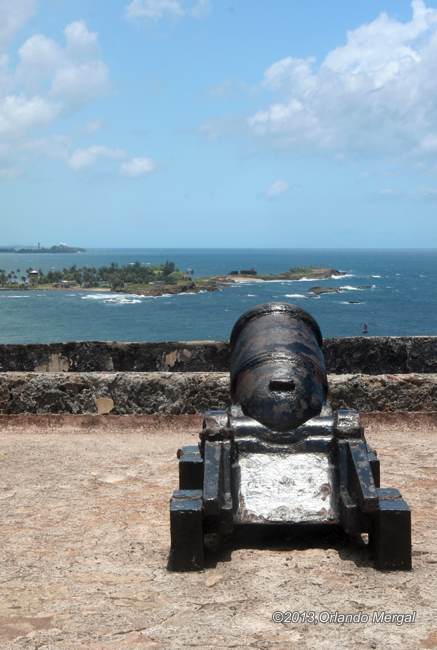
Several years ago you could still see one of the original breech-loading rifled guns that defended el Morro against enemy attackers. Now the Santa Barbara Battery is only a concrete promontory were you’ll have an excellent view of the San Juan de la Cruz fort, sitting across de bay.
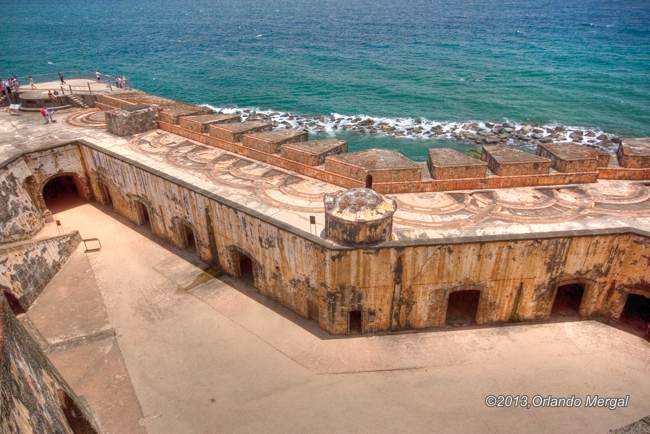
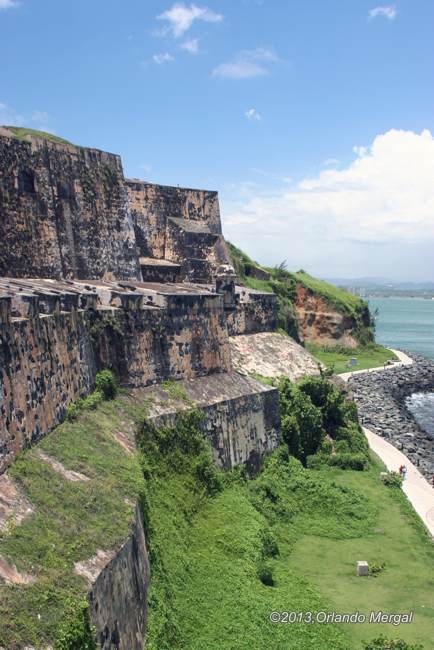
Standing at the Santa Barbara Battery with you back towards the sea you will notice the V‑shaped design of Fort San Felipe del Morro. On both sides you will see the empty openings were the fort’s guns used to sit.
Walking towards your left along the third level gun area you will find another circular staircase that leads to the fourth level Carmen battery, which supported the Santa Barbara battery. These guns pointed towards the entire western sector of Old San Juan.
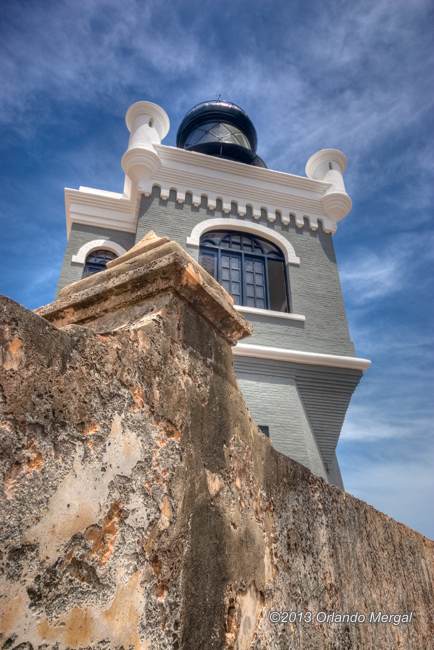
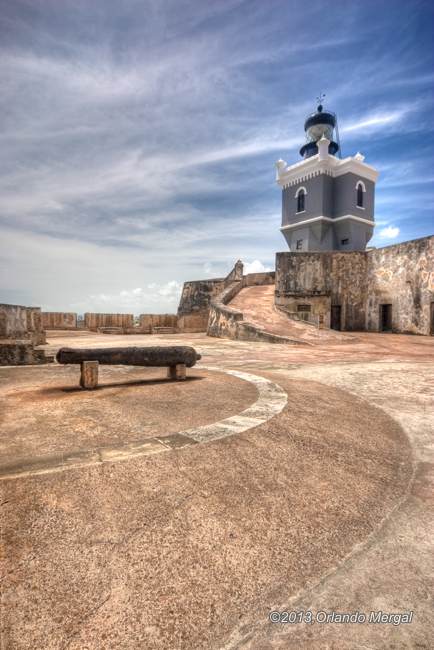
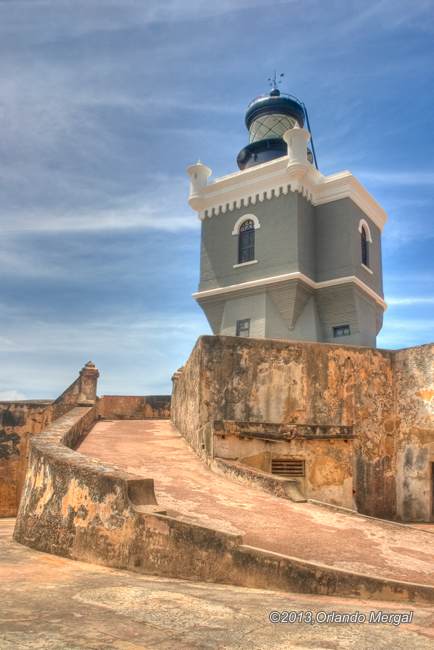
Directly across the Carmen Battery there’s a small ramp that goes up around the fort’s lighthouse to the Ochoa half-bastion and the Austria half-bastion. Both half bastions are linked together by a straight wall that sits directly over the fort entrance. This entire area protected the rear side of the fort in the event of a land attack.
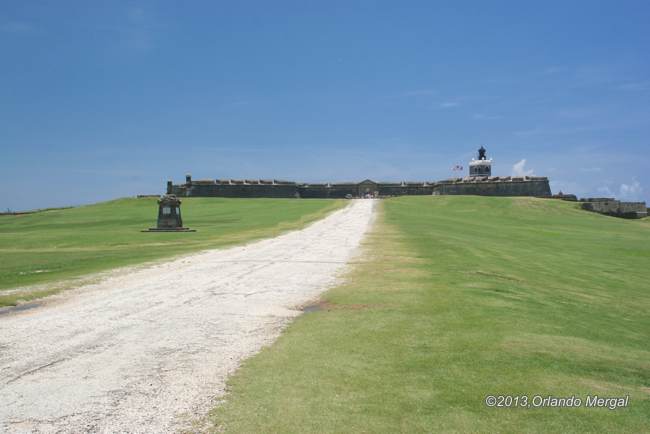
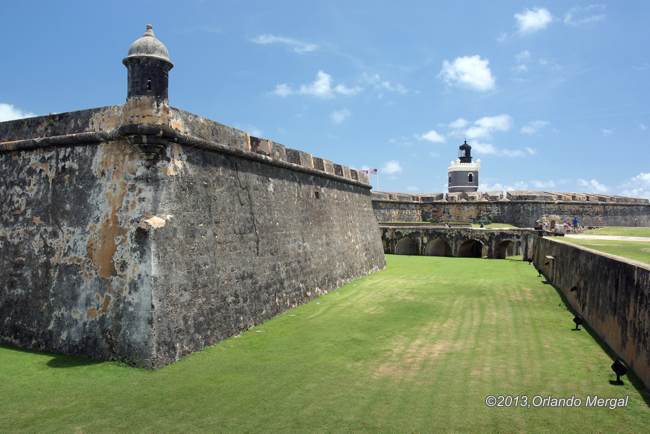
When exiting El Morro you’ll probably be struck by the barren appearance of the fort grounds. The Spaniards called this a glacis and the purpose was to deny attacking forces any possible cover from the fort’s gunners and musketeers.
